
Gimp: 5-те най-добри съвета за начинаещи
Gimp е ефективна програма за редактиране на изображения, но често малко объркваща за начинаещи. Показваме ви най-добрите съвети за започване на работа в Gimp.
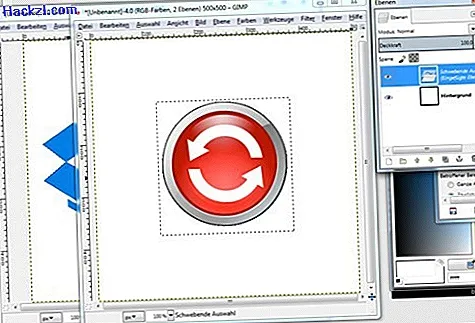
Съвет 1: Използвайте слоевете изображения в Gimp
- Подобно на Photoshop, можете да работите с различни слоеве в Gimp. За да се покаже менюто Слоеве, щракнете върху "Диалогови диалогови прозорци" под "Прозорец" и изберете "Слоеве".
- Щракнете с десния бутон за дублиране, сливане и редактиране на слоевете. Можете да скриете и покажете отделни слоеве, като използвате символа на очите.
Съвет 2: вмъкнете текст в изображения
- За да вмъкнете текст в изображение с Gimp, изберете елемента "Текст" под "Инструменти".
- С едно щракване можете да позиционирате текста навсякъде в изображението. Можете да промените шрифта, както и размера и цвета на текста.
Съвет 3: Намалете снимките с Gimp
- С Gimp можете да преоразмерявате изображения сравнително лесно. За целта отворете съответния файл в програмата и кликнете върху "Изображение" в лентата с менюта.
- След това изберете "Изображение на мащаба". Можете, освен всичко друго, да посочите желания размер в пиксели, сантиметри или проценти.
Съвет 4: Оптимизирайте цветовете на вашите снимки
- С помощта на снимки и други снимки можете да оптимизирате цветовете с Gimp. За целта кликнете върху „Цветове“ под „Инструменти“.
- Тук можете да настроите оттенък, наситеност и контраст, наред с други неща. Можете също така да промените яркостта тук според вашите желания.
Съвет 5: Експортирайте снимки с Gimp
- По подразбиране Gimp запазва вашите проекти във формат XCF. Можете обаче да направите малко с това, ако искате да изпратите или качите изображение.
- Следователно, за да запазите готово изображение на вашия твърд диск, изберете опцията „Експортирай като“ под „Файл“. Можете или да въведете типа файл ръчно, или да го изберете в менюто за избор в долната част на прозореца.
Сега, когато сте по-запознати с Gimp, в следващия практичен съвет ще ви покажем как можете да изгладите ръбовете с Gimp.